| Dyed and Gone to Heaven – An Online Magazine and Needlework Resource |
|
 |
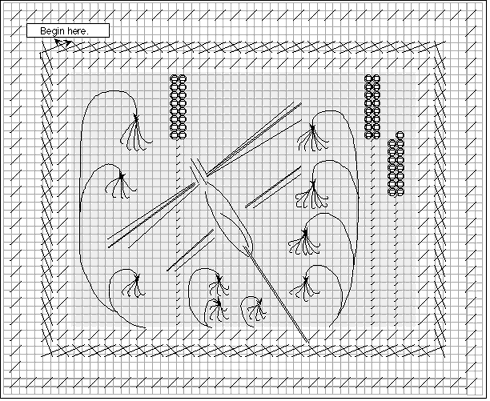
Back to Main Online Class Page
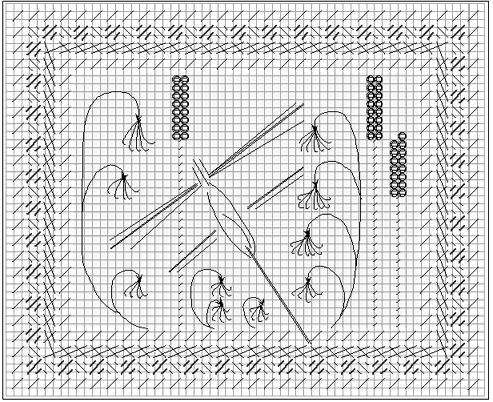
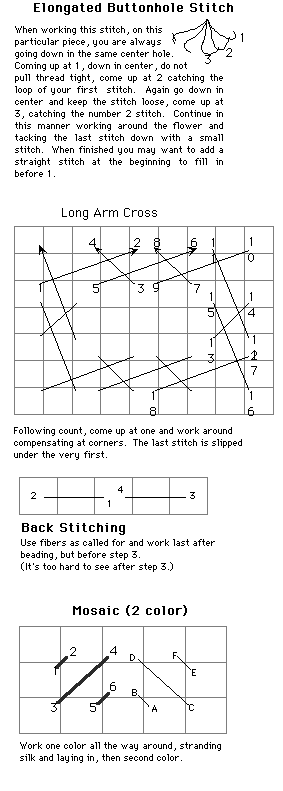
Step 5 Optical illusions... yes, we still have a rectangle. The next step is to lay in a Long Arm Cross all the way around the outside of the inner beading row. Use Waterlilies Spruce 4 ply and lay in each stitch. Notice that you will have a compensating stitch at each turn. At the last turn, slip last stitch under the very first stitch layed in.
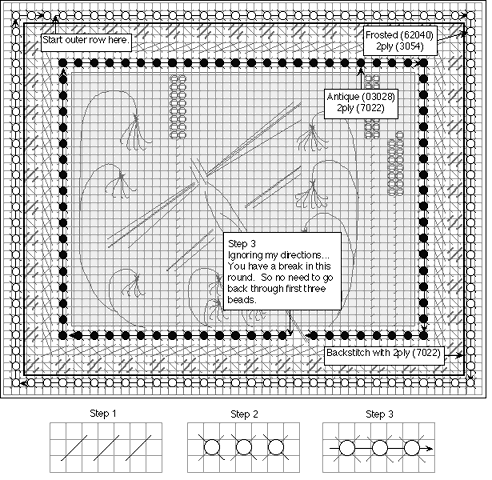
Step 6 Your last step before the beading. Work a two color Mosiac stitch between the Long Arm Cross and step one of the outside row of beading. The thinner black line is Soie Cristale 4 ply (7022), the thicker shaded line is Soie Cristale 4 ply (1091). Strand and lay in your silk for a smooth look.
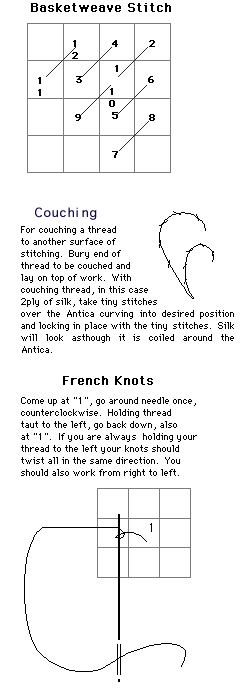
Step 7 The beading process is described below. Step 1 was completed in the beginning. Work Step 2 next. For Step 2, using 2 ply silk to match your beads and size 28 needle, apply each bead with a reverse tent stitch, as illustrated. Before working Step 3, work a back stitch where dark square is indicated on chart at left, over two threads. See stitch guide. Step 3 of the beading is simply a running of thread through the entire round of beads. Using 2ply of silk to match and size 12 beading needle, go through entire row. Then back through the first three and bury thread in back of work. Change threads to match other beading row and repeat.
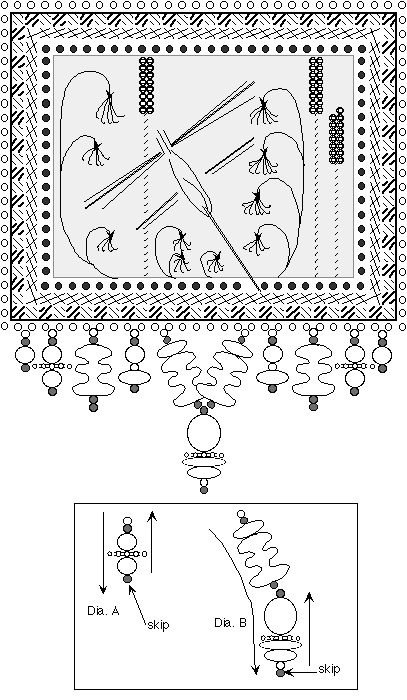
Step 8 For your bead embellishment... I selected a variety of semi precious stones and metal beads to use on Lois' pin. You may follow what I did with the Amethyst and Adventurine. Or you may choose to use all glass with some fancy lampwork beads. The process for attaching is simple, use diagrams below for help in designing your own embellishing. Use strong beading thread and wax for extra strength. Semi precious and metal will sometimes have a sharp edge and can cut through your beading thread. To start, bury thread in back of work and come to front of work below and between two beads of the outside row. In Dia. A thread all beads, turn and skip the last bead on thread. Go back through remaining beads and anchor thread again in back of work. Anchor thread each time before proceeding to next dangle. Dia. B shows the center embellishment. Go through all beads shown, then skip last bead and go back through where indicated. Then thread beads to match the first section.
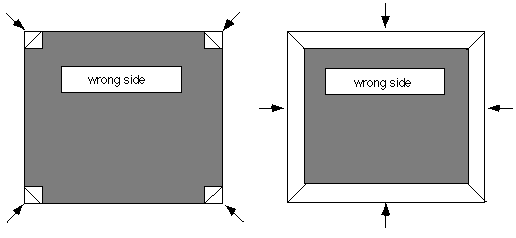
Step 9 Now for the finishing. It is quick and easy... no machines! To start, count six threads out from all sides of your finished piece and trim away remaining canvas. You will need a warm iron and a spray bottle of water. Take piece and fold in four corners to back of work, as illustrated below. Then fold in all sides, pressing each fold firmly. Dampen to set. There is enough sizing in the canvas so that it will hold nicely. Now take your backing fabric and a piece of Wonder Under (heavy duty), both cut larger than your finished piece. Following manufacturers directions, adhere Wonder Under to back of fabric. When cooled, peel and press lightly to back of finished piece. Take piece in hand and trim off excess fabric, then finishpressing backing fabric to piece. (The reason for pressing lightly, is to keep over-lay from adhereing to your pressing board! If you try to cut fabric to size and apply, it will not fit exactly.) To attach purchased pin back to your piece, I use Duco Cement. This dries clear and isn't globby like hot glue. Apply a thin line to piece where pin will sit, then to pin itself, push into place, and hold a few seconds. Then take glue and run a thin line so that glue is covering edges of metal pin and fabric back. It should dry for at least twelve hours.
STITCHING GUIDE
|
COPYRIGHT NOTICE: No part of these instructions nor the included designs/charts can be reproduced or distributed in any form (including electronic) or used as a teaching tool without the prior written permission of KIMBERLY CRUM. One time reproduction privileges provided to our web site visitors for and limited to personal use only.
© 1997 The Caron Collection / Voice: (203) 381-9999, Fax: 203 381-9003
CARON email: [email protected] / Webmaster [email protected]